Installation
As we've mentioned, the instruction manual is pretty good at explaining the steps of installing the WaterChill. One thing to keep in mind is the WaterChill will not work on all motherboards, specifically, those that lack the four mounting holes. Pentium 4 boards should be no problem, but several AMD based motherboards do lack these holes. We used the WaterChill on the ABIT IS7-G, ASUS P4C800-E and the ABIT NF7-S Rev2.0.
For the purposes of this demonstration, we'll be detailing the NF7-S installation, using the Hydor L20 pump and an Antec Lanboy case. Though I won't mention it at each step, remember to clean off any old thermal paste and reapply some fresh paste between switching blocks. It would also be wise to double check your blocks for flatness. I did it by installing the blocks, then removing them to see the thermal paste outline. If the thermal paste does not make a clean outline, you'll need to lap it.
The first step to installation is removing the motherboard from the case. I understand that this is frustrating for some of you, but it will only need to be done once as the WaterChill uses guide pins to install the CPU block.

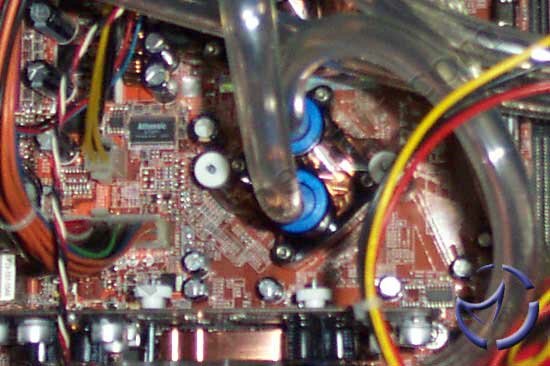
Once these pins are installed, you can remove the CPU block at a whim to change the processor or redo the thermal paste. You'll need to remove the motherboard again only when changing it, or if you decide to go with a different cooler. Note that we were required to use the alternate lid Asetek supplied in order to make the block fit on the NF7-S (the capacitors got in the way).
Installing the video card block is as simple (in most cases) as removing the current heatsink, cleaning the GPU, and installing the new waterblock. It should be rather staightforward, but remember to make sure the connections are pointing at a 2 O'Clock angle (when installing the card), and not at 8 O'Clock, or your tubes will end up going into the motherboard.
The chipset block's installation will happen one of two ways. For most Athlon boards, you'll be using the guide pins, and screwing it in. For Pentium 4 boards, they don't have holes, but instead they have bent wire placeholders. You'll need to go ghetto, and use the included zip ties to secure the block to Pentium 4 motherboards.
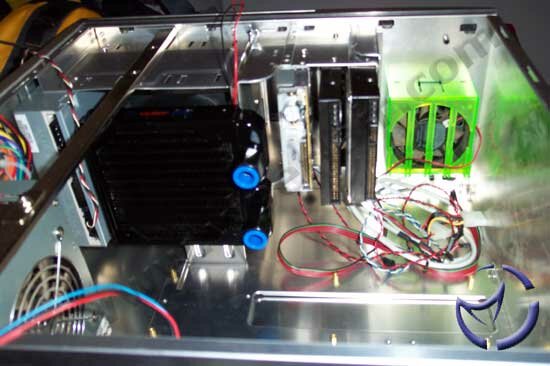
Next steps should be finding areas to place your radiator, reservoir, relay and pump. We specifically chose the Antec Lanboy because of its small size. This will force us to be creative, but to also prove that the WaterChill will fit in smaller cases. I'm not telling you to run out and buy the smallest case you can, and would still recommend having a full tower case, preferably with a 120mm fan exit.
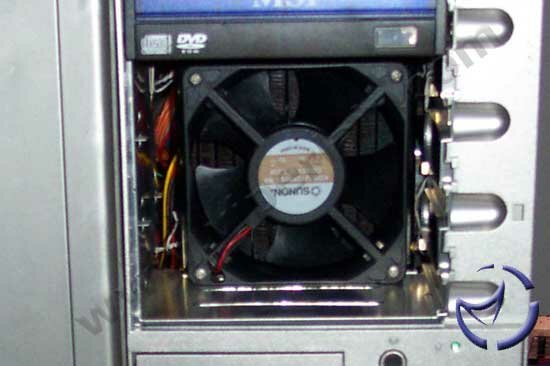
We only have one optical drive in our system, and decided to stick the radiator in three free slots. The fan was placed on the near side of the case to draw cool air in. Now, this solution does look like ass, but with some creativity, you can mod some extra 5 1/4" panels to allow airflow, and to cover up the fan's appearance.
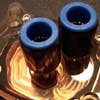
Depending on the size of the Hydor pump, you'll receive a support bracket for the pump and reservoir. Asetek recommends connecting the reservoir directly to the pump, and once you've configured the SafeStart, you're almost set to go.
Installing the tubing is a simple affair, though there are some issues that came up for us. Like all push fittings, you'd be best to lubricate the outer part of the tubes before pushing them in a clock-wise motion. Be sure to cut the tubes straight, or leaks will occur. The problem we had though, was because there are no tube inserts, the tube was prone to bending as we pushed them in. This made tube installation more difficult than we've experienced with the Swiftech kit.
Another problem we had was that the small Lanboy made it tricky to route tubing without causing kinks in the cable. The cable was soft enough to make gentle turns, but we ended up using more tubing than we would have liked.
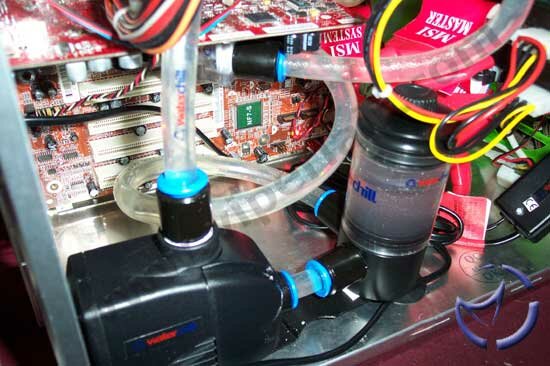
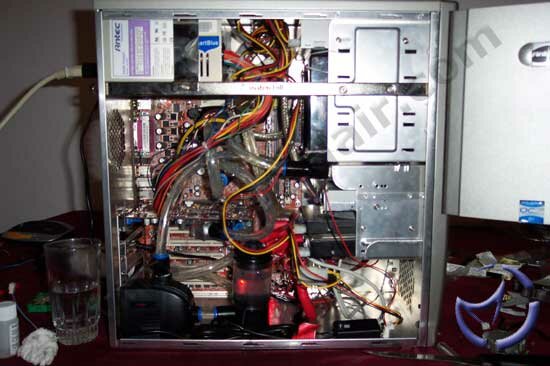
Once everything is installed, the setup should look like the above pictures. Our setup was Pump - CPU - Chipset - Video - Radiator - Reservoir. Once that is done, you fill the kit up with water, remembering to include the anti-algae solution, and let it go. Now, we are demonstrating the installation with the components installed, but in reality, it is good practice to let the system run overnight without your PC setup to test for leaks.
NEXT