
Click to Enlarge
The case also sports a swinging front door, with "Magic light reflection." The acrylic is colored green, and has ATC-S etched into its backside. The hinge on the door has a small cold cathode inside of it, which illuminates the etched logo on the door. The illumination also spills light onto the 5.25" bays. The door's hinge is made of aluminum, as is its complimentary side. The other side of the window has two small magnets that hold the door in place. When I received my case, the bottom magnet had come out of its indentation, but a small dab of crazy glue fixed it in a second.

Click to Enlarge
The bottom of the case has four padded feet, which protect the bottom from getting scuffed up. Over the course of using the case, I found that the aluminum scratches easily if enough pressure was put on the metal - so the case feet were definitely a good idea.

Click to Enlarge
The power button is large and clicky. Below it resides the power LED, which is blue and bright. Below the power LED is the reset button, and below that is the HDD activity LED.
Finally, below the buttons and LEDs are two USB ports, which are accessable even when the door is closed, due to a small circular cutout in the bottom of the acrylic door.
There is no paint on the case (although there is a color option for both the case color and acrylic color) and I personally find the brushed metal attractive.
Internal Features
Click to Enlarge
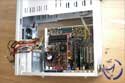
The case seemed to be just the right size for a mid-size case; the components weren't cramped, but had there been a little less room, installation would have been difficult. I found that it was necessary to remove the motherboard tray to install more drives comfortably, although removal and insertion of the tray took about ten seconds total.


Click to Enlarge
The motherboard tray is one of the features on this case that, despite the size of the case, made installation a breeze. When I was installing my 5.25" and 3.5" devices, I simply removed the motherboard tray, and I had all the room I needed to work. The tray is installed via two 'rail' sections in the case that it slides into. I found that a little bit of force was required to get the motherboard tray in and out, simply because the tray is snug against the rails. I note this only because the side panels required relatively no force to remove and replace - however I can understand why the motherboard tray would be snug - vibrations are ones enemy, and the last thing someone wants is their motherboard jiggling around the case.

Click to Enlarge
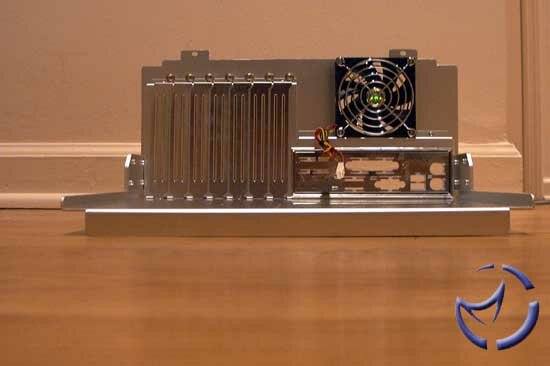
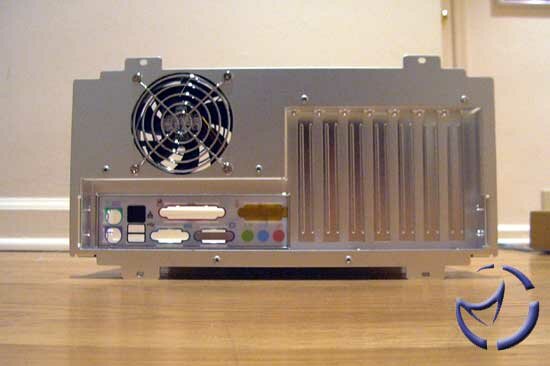
Traditional standoffs are used on the motherboard tray, and a standard ATX I/O plate is included. The plate itself was a little flimsy and popped out of the tray a few times until I installed the motherboard, after which, I had no problems with it. The seven expansion slots are all secured with thumbscrews, another nice touch from Cooler Master. The size of the thumbscrew allowed me to get enough torque to secure my PCI cards without a screwdriver - one less hassle for the user.

Click to Enlarge
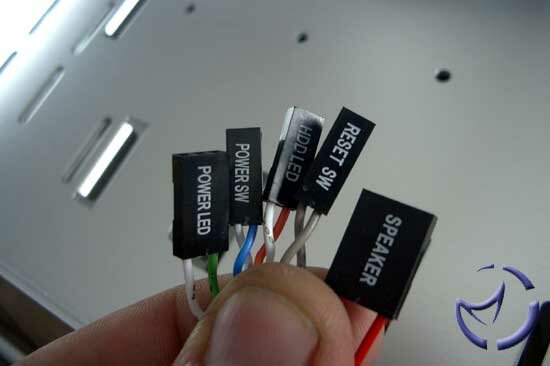
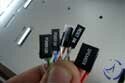
The motherboard connectors (power, reset, etc.) are not bundled together, unlike the USB connectors, which can be a problem unless you have cable ties - especially since there is a side window. The only thing worse than a messy case, is a messy case with a side window. Unless you tidy up, everyone can see the gruesome jumble of cables.

Click to Enlarge
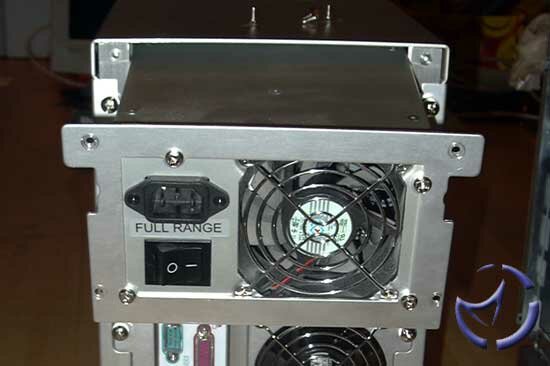
The PSU installation is quite simple. Cooler Master provides two faceplates - one for a standard ATX PSU, one for a redundant PSU. The proper plate gets screwed onto the PSU itself, and then the plate it screwed onto the case. The PSU is housed within a PSU cage which allows for side, bottom, and rear fans to be unrestricted, unlike some cases which block off the PSU fans. I had no problems installing my PSU into the case, nor do I expect others will have problems, unlike other cases which have had plates or objects blocking fans or the PSU itself.
NEXT