Internal Features
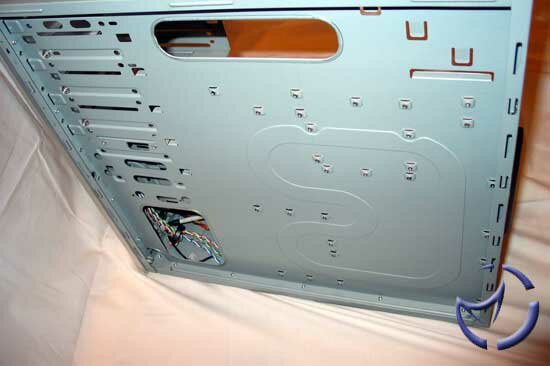
The interior is not all that spacious, I found that I had to plan which components I was going to install into the case first as to not create a problem in which I could not install a component. It's pretty much a given that a budget case will not have a motherboard tray, which is fine in a full tower, but in a mid-tower, things can get cramped very easily.
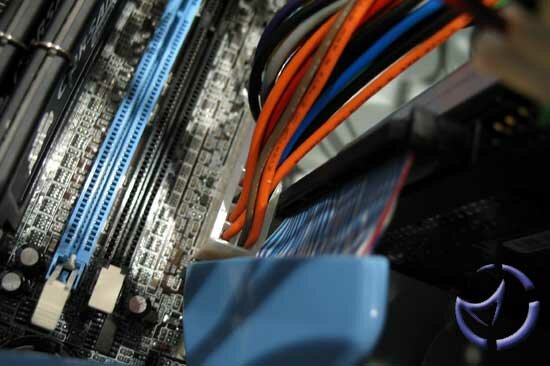
One thing that I noticed was that once I mounted my hard drives and motherboard (Chaintech 9CJS), there was very little clearance.
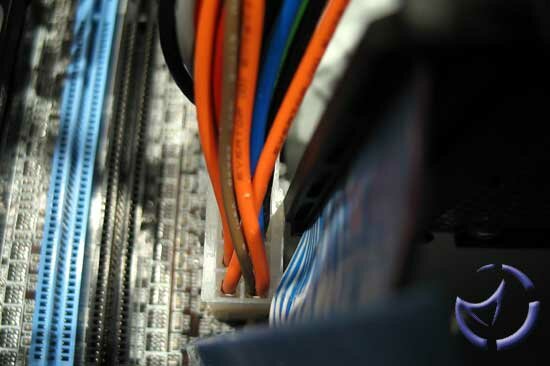
I had a very hard time getting my IDE cable into its drive due to the very little amount of space I had between the motherboard's ATX connector and the hard drive's IDE interface. I also encountered a problem with my second hard drive - the location of the primary and secondary IDE controllers on the motherboard once again left me little room to properly install the IDE cable to my hard drive. Although not all motherboards place their connectors in the same place, this should at least give you an idea of how packed this case is - very.
One nice thing about this case is that all of the edges are rounded off, you'd be hard pressed to find a place where you could cut yourself without really trying.
The inserts that are used for empty PCI slots come off extremely easy, I was shocked to find out how easy it was to bend the metal. After lightly applying pressure to the pop-out ATX I/O plate I had an I/O plate no more:
I did not apply excess force to get the I/O panel out, however I did end up bending the rear of the case outwards (away from the front bezel,) and had to push it back to straighten it as best I could.
The front bezel is removed via screws at the top of the bezel and along the side.
Once the bezel is taken off it is possible to mount the fan in the front fan bay. The other reason you'd take the bezel off is to clean the filter in the front of the case. Due to all of the unscrewing, I wouldn't exactly call this a walk in the park - but remember this is a budget case.
To put the bezel back on, you simply align the bezel and push it on to snap the plastic pieces back in. Now comes the hard part. You have to screw the top screws back in. Due to the two lips that surround the screws holes, if you don't have a magnetic screwdriver that will hold the screw on for you (I do not have one of these,) you will spend quite a while trying to get all of these screws in.
The front port interface uses standard plugs for USB and Firewire. To get the stereo headphone and microphone jacks working, you need to figure out and properly insert these leads:

The installation is assisted by the included sheet of paper.
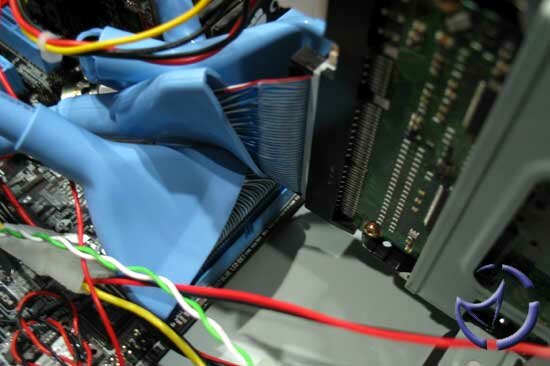
The drive bay is where I had the most trouble with this case. First and foremost I had trouble aligning the cage properly. Even without drives it was very hard to get the cage to move over to where it was supposed to be, while still keeping the two lipped/tabbed inserts on the top of the cage in their proper place. Not only did I have problems getting the cage to align, once I did get it to align, the cage's screwholes were out of alignment. I had to push the cage upwards to get the screw holes to align properly, and then screw the screw in.
It is possible however that I either damaged the cage, or the review sample I got was somewhat defective, but seeing as I had trouble from the beginning with the drive cage, I find this to be unlikely.
To properly secure the drive cage you must also replace the screw on the opposite side of the cage. If you don't have a magnetic tipped screw driver, this isn't going to be easy. It took me at least 5 or 6 different tries (the cage alignment was fine on this side) to get the screw in.

NEXT