The BIOS
The Phoenix AwardBIOS is back, and as usual with ABIT, the options are numerous for enthusiasts to get the most out of their KV8-MAX3. Options such as Standard CMOS Features, Power Management Setup, and PC Health Status are all here, but let's delve deeper into the more important areas for tweakers.

|

|
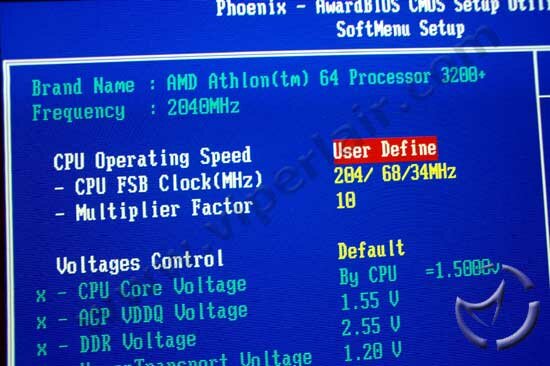
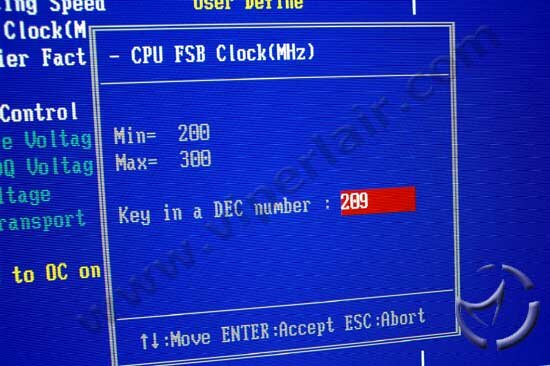
The SoftMenu is ABIT's starting point for system fine tuning. The Front Side Bus (FSB) and voltage options are all available on this page. The CPU Operating Speed is probably the first item you'll want to play with. By setting this option to User Define, you can adjust the FSB speeds from 200MHz to 300MHz. Unless you work in AMD's R&D labs, the Multiplier Factor will be useless for you as all retail and OEM A64s will be factory locked. Keep in mind that by adjusting the FSB, anything FSB related will be changed. At this time, there are no AGP/PCI locks, hence you will not be able to adjust the PCI, AGP and HyperTransport independently from the CPU. This will not likely change ever with the KT800, as the chipset auto adjusts the clocks to either 1:6, 1:7 and 1:8.
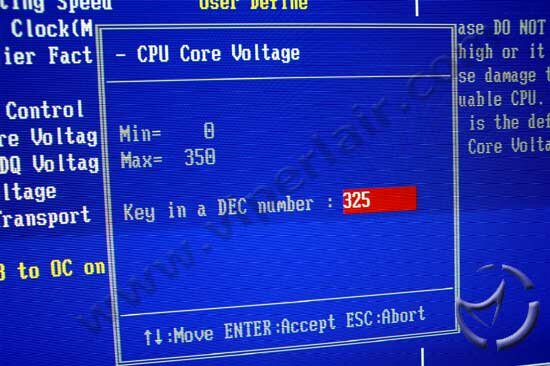
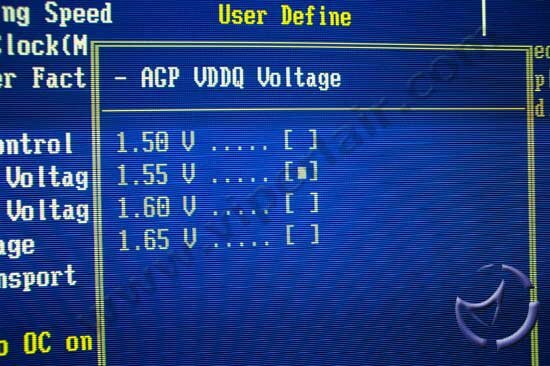
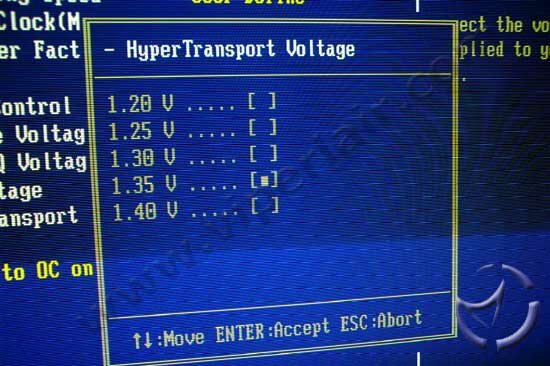
Setting the Voltages Control to User Define will unlock all the voltage options available on the board. For the CPU, the Core Voltage options are a little confusing at first as it doesn't appear as we're normally used to (1.5v-1.85v), but instead the voltages are adjusted in microVolts (mV). The default setting is 1.5v, and by entering the maximum of 350 mV, this will set the CPU at 1.85v. For AGP and DDR, the menu is more standard, and the max AGP voltage is 2.65v and the max DDR is 3.2v. The HyperTransport voltage tops out at 1.4v. While I feel the CPU voltage ceiling could be a little higher, the AGP and DDR voltages are extremely generous. Many high-performance DDR modules suggest 2.9v, so it's good to see ABIT is able to pull that off.

|

|
The next stop is the Advanced Chipset Features where you can make further adjustments to the DRAM, AGP and P2P Bridge, LDT and PCI Bus, and the VLink Bus Control. Starting with the DRAM Configuration, by leaving the DRAM Timing Selectable at SPD, it will default to your ram's factory settings. Switching this to Manual will allow you to make adjustments manually. For the DRAM Clock, your options range from DDR200 to DDR400. You can also adjust the CAS Latency, Row Cycle Time, Row Refresh Cycle, RAS# to CAS# Delay; RAS# to RAS# Delay; Min. RAS#, RAS# Precharge, Write Recovery, Write to Read, and Read to Write. There are variable settings to choose from, but lower numbers may result in better performance at the expense of system stability.

|

|
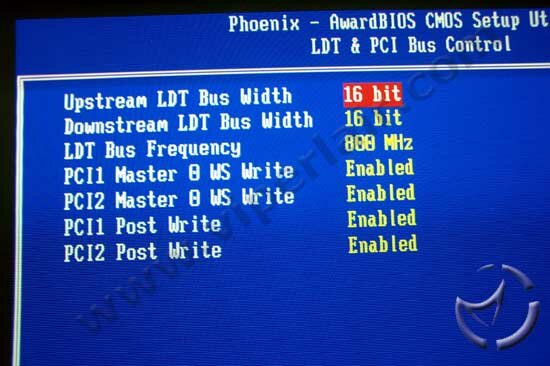
On the AGP & P2P Bridge screen, you can make the usual adjustments to the AGP settings. Lightning Data Transport (LDT), is VIA's implementation of HyperTransport, and controls the data moving to, or from the CPU to chipset. The default values are geared towards optimal performance, and it isn't suggested you change those values.
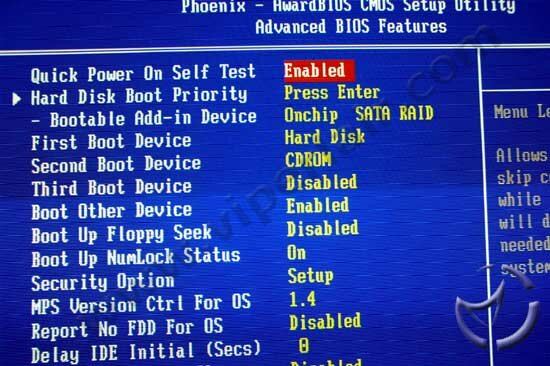
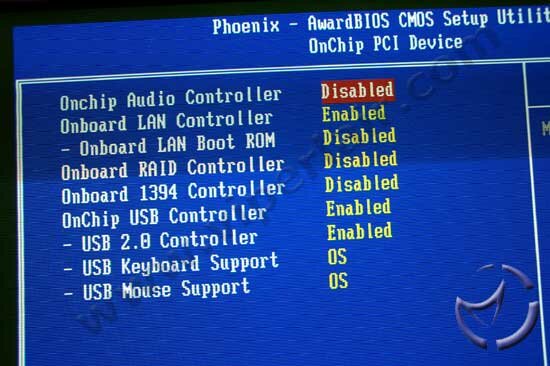
Finally, the last area where you can make some tweaks that affect system performance is under the Integrated Peripherals menu. It's best to enable and disable items you may or may not need. For example, if you have no intention of using the Silicon Image controller, you can simply disable it, saving you some boot time, otherwise the Silicon Image RAID BIOS will slow down the boot process. On the otherhand, if you intend to use it, then make sure it's enabled.
µGuru Software
As we've touched on earlier, the µGuru chip is ABIT's latest real time monitoring technology. Access to the hardware feature is done through a software package that ABIT provides. We've covered µGuru quite extensively in both our AN7 and AI7 review, so I encourage you to check those out for more information.