|
Written By: Matthew
Date Posted: May 6, 2002
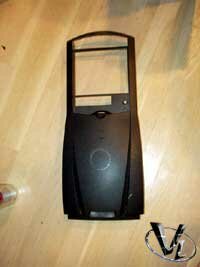
1. Cut hole out:
The first step to cutting anything, ever is to first plan it out. Maybe draw on paper what you think would look good. Go ahead and experiment a little, don't choose something that you don't think you'll like later. I decided that since my bezel was curved, there was no way I could just slap some plexi on it and etch out the symbol or anything& so I said maybe I could just cut it out. I took a drill to the plastic and it went through my bezel plastic quite quickly - without any resistance practically - so I had to rethink this.
A circle - a round hole with my insignia, that seemed like the best option. So I'm going to cut out a hole& so how do I start this out? Dremel + Cutting wheel.
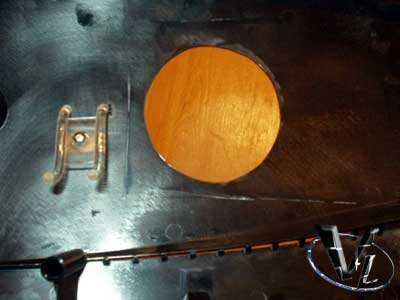
I used a coke can to measure out a circle and penciled it in. Then I used a ruler to make a square from which I would cut out the center of the circle from. After that I would just sand the rest of the plastic away with the Dremel.
To the basement I went and cut out the box easily, then proceeded with the Dremel and sanding bit - and I got this:

Wow. What a piece of crap. That hole is ovalish and honestly quite disgusting. Not only is the hole itself ovalish, it's off-center. What happened?
1) The first thing that I have learned from this is that you must use some sort of permanent or non-permanent but strong marker or tape to mark off areas not to cut off. The pencil outline faded and left as I got closer to the marks themselves. If you're cutting up a part of your case, do it right - don't eyeball things, do them right. So I took a roll of masking tape, re-centered the hole [since it was ovalish and to the left I matched up the left most part of the tape with the leftmost part of the oval] using a permanent marker (sharpie) to make the outline.
2) The second thing was the speed of my drill. The drill was set to its top speed when I was sanding away parts of the plastic. Big Mistake. The plastic itself will start melting, which can be bad, causing disfiguration and in my case, if I hadn't been careful, the curve of my bezel would have been ruined. When I lowered the speed to about setting 3 (from 1-5) the sanding was actually more efficient, and by only touching the plastic when I was sanding it, I was able to achieve a much better curve.

2. Heat and Bubble Plexi
First you must obtain a piece of plexi for the bubbling process - you actually might want to buy 2 just in case you screw up the first time or your bubble is too big. Plexiglass can always be reheated so don't worry about it if the bubble isn't big enough.
Important notes:
1) DO NOT use a lighter. Do not let the flames "lick" the plexiglass. This can be disastrous. Don't believe me?

2) Orange flames are the colder flames. Blue are warmer. You want to get a source which has a blue flame and hold it approximately 3 to 5 inches above that heat source. The radius of my hole was only about 1.5 inches, so a small gas stove worked perfectly - if you have a bigger piece then you might have to come up with a way to heat it otherwise. I noticed that if you use a VERY HOT liter then you may be able to achieve the melting without burning.
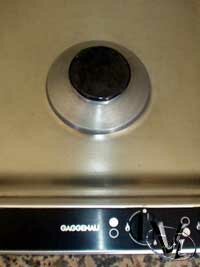
My gas stove (off)
3) PLEASE PLEASE PLEASE use a test piece of plexiglass. Take a piece from the sheet you have or a piece that is from *the same brand* and try melting it. Experiment, see how long it takes for it to burn. Find out how you can allow it to melt without hurting it in any way. The reason I say this is because there are many plexi brands and the method I used may only be applicable for the amounts of time and heat that I used. A heat gun was suggested to me for the bubbling process - I've never seen or used one though.
On with the process:
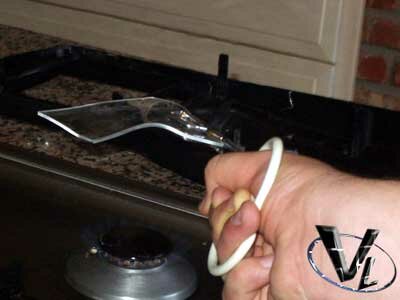
1) First start the heat source and make sure that it's good by testing the test-strip of plexi - hold a small portion of it with the metal thongs - don't burn your hand.
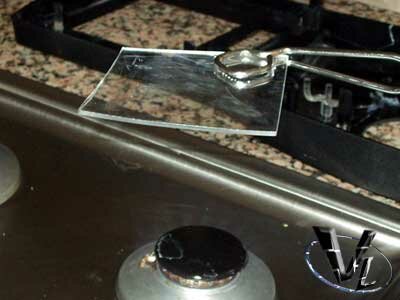
Notice the flame is blue. I'm not going to get into chemistry and physics here, but the visible colors are ROYGBV - Red Orange Yellow Green Blue Violet. Red requires more energy to be released as a color - if less energy in a flame is going towards color, then more is going towards heat. So Blue/Violet flames [or ones you can't see] are the hottest& If you don't believe me, check out a Bunsen burner.
2) Take the plexi and heat it until it becomes very soft - if you can hold the piece horizontally still, it's not hot enough. (I.E. the picture above)
3) While heating, make sure you don't leave it in the same spot, move it up, down, and left and right so that if there's a disparage in the heat source 1 part of the plexi doesn't get heated more than other parts.
4) When you have your plexi heated to a reasonable point (it's quite flexible& if you had been holding the piece as I held it in the previous picture, you would probably have something along the lines of the following picture:
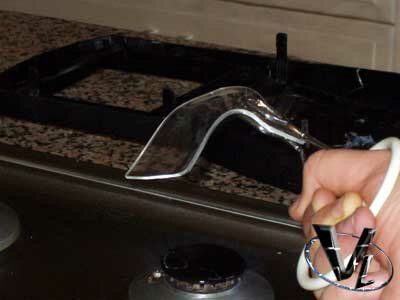
Place it in your hole or square. This is where the metal tongs come in handy if they're slightly rounded.
5) Push down in the center of your hole. Then take the thongs and spread them outward as your let the tongs rise up out of the hole. This way you are creating a vertex of the bubble and allowing for the vertex to have a surrounding with similar height. This process is illustrated in the following pictures (credit to Davzing for his l337 modeling tekniq)...
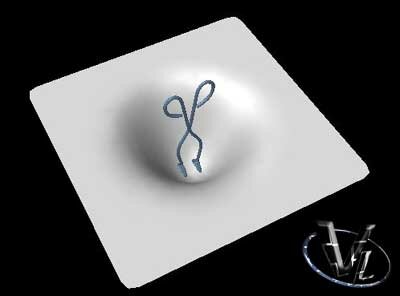
First, push down...
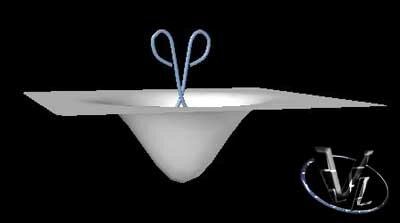
Then start pushing out towards the side while letting the tongs recess towards the top...

Finally, the tongs will go to the edges, repeat in different directions.
Just a note here, The previous pictures were dramatizations - the aspects are off, and it must be noted that if one is to push down the plastic this much they wouldn't get a bubble looking like the last picture.
Instead, experiment a little, push it down a little at a time until you master this technique and you will get a very close to perfect bubble.
6) Repeat this with the tongs until the plastic becomes so hard you can't do it anymore. Make sure you can remove the plexi from the bezel - you don't want it to be melted on. If it is kind of melted on try pulling it off or prying it off - perhaps you can try heating the melted on part with a lighter (this I did do), and then pulling it off
7) If you don't like your bubble, then keep reheating it until you get a good one
8) If you realize your bubble is too big, you're screwed. Start over.
9) Finally, make sure the edges are on (touching) the bezel itself so that you can secure it later
I did not do this with a lighter and don't advise it (at least not in this manner for the heating& perhaps you could move the lighter around to heat the whole piece? I don't know, it's really better to use the gas stove).
Wow! You've got a piece of plexiglass that's bubbled. Awesome. Now to make a logo on it.
Previous Page - Getting Started
Next Page - Logofying
|

