Ed. Note: This is another in our series of reader submitted articles. We've always said you guys are the bright ones, and with that being said, we're sure you'll enjoy Pete Goepfert's contribution. He is also selling his creation if you're interested, so feel free to for details. All thumbnails can be clicked to be enlarged. More images are available via the photo album.
Introduction
The reason I took on this project was because I am all about customizing computers. The more I am able to get away from the norm the better. I have had a water cooled system before. But, I always wanted a submerged pc. With the fun I had building the ECM-1, there is no stopping now...I am addicted!
Yes, I know it is plain. However, it is form and function over ascetics for this extreme mod. This will be my work station for a long while.
Here are the basics. This is a submerged, super cooled pc. This has several advantages. 1) It was less expensive than a standard liquid cooled pc. 2) You don't have all the hoses and worries about leaks in the system. 3) You don't have to worry about condensation. 4) The entire system will run cooler. If it works on super computers, it will work for me. This project is designed to be built by anyone with a good foundation in modd'in. Sure, it's bulky...but it's so COOL!!!...literally.
The Test Phase
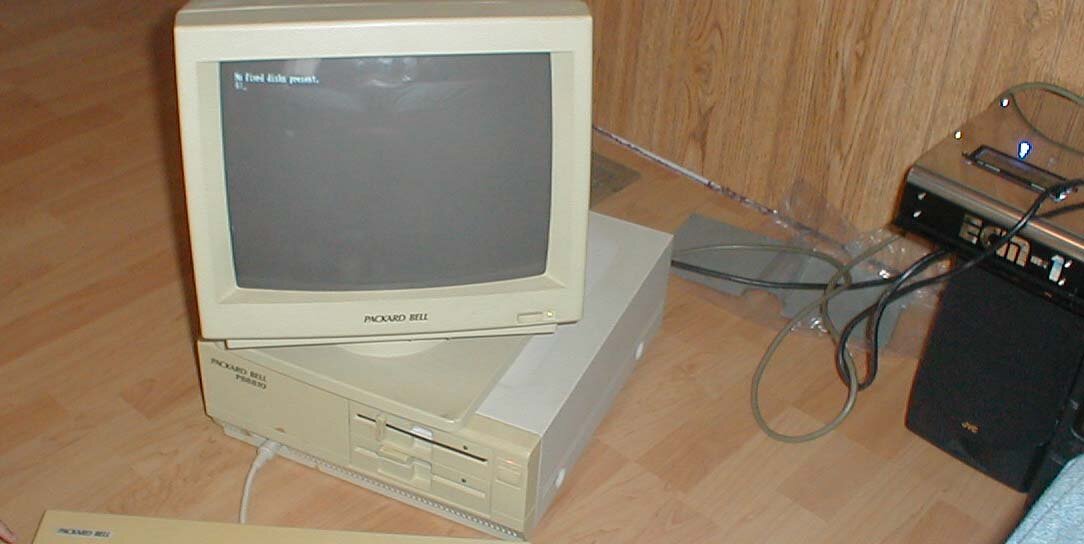
All good projects start with a plan and tests. I used a Packard Bell PB8810 as the Ginny pig. I turned it on and started to pour on the liquid...it still worked fine. Then, I trashed it. Thanks for the test subject, Jim.

I then put the bilge pump in a bowl of the liquid and attempted to freeze it. The liquid temperature fell down to 14 degrees F or -9 degrees C with the pump still working...but slowly. At 4 degrees F or -15.5 degrees C the pump is unable to push the liquid any longer. It is now gelled. I am guessing it will work better when it is hooked to the heat sink because of the heat released from the CPU.

The Building Phase
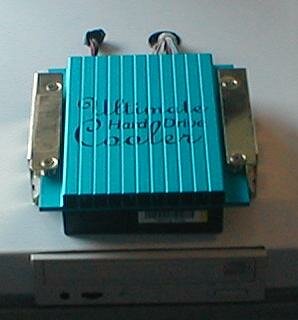
First, I installed the bilge pump mounting bracket onto the heat sink. Why a bilge pump? It only cost 10 bucks and cranks out 500gph! Also, it runs on 12v DC...no extra AC cord. It will suck cold liquid to the CPU and blow the hot liquid away to be circulated. I also installed an extra thermometer under the pump bracket to monitor fluid temperature.

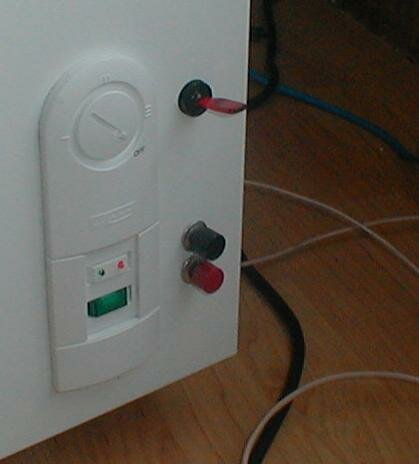
Second, I installed the LED's, power and reset switches, and the pump switch.

Third, I installed the CDRW and mounted the HDD cooler. I decided to mount the HDD on top to help with the insulation problem and give the out side some much needed eye-candy. Also, it will make upgrading and / or swapping drives much easier.


NEXT


 The Extreme Computer Mod 2 - Project Deep Freeze: There's water-cooled, then there's water-cooled. Checkout this latest project contributed by the same VL reader that did the ultra cool ECM amp mod.