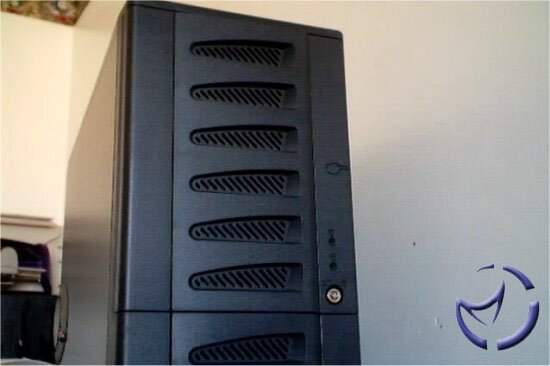
The case front is split in the middle as the top half is a door, but both the top and central grill sections simply pull off, and in the case of the lower half, this allows you access to the fan grill filter behind it. Having both of these sections pull off makes for a quick and easy time for modders to create a striking two tone effect, painting these 2 front sections a different colour from the rest of the case perhaps, without the worry of paint overlap to contend with at all.


The top half as I stated before is a door, which serves to hide the power, reset and the 4 5 ¼ inch drive bays as well as the 2 floppy bays. The front door is lockable and has Perspex rods to route the very bright blue and orange LED's (blue for power) from behind the door to the front of the case.


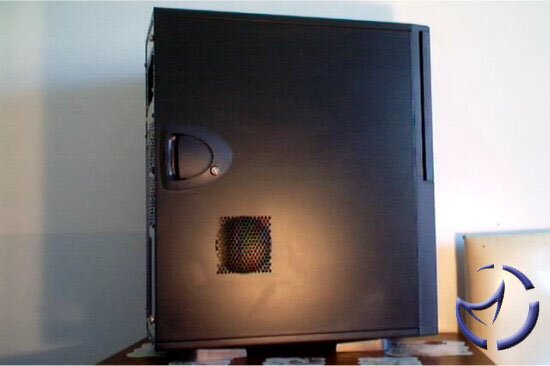
Each of the drive bay covers have finger grip like holes, which is exactly what they are intended for; one quick pull free's up the drive bay for use. Moving around to the right side we can see a strategically placed fan grill (92mm) and also a door handle.


Removing the 2 thumbscrews that hold this side panel in place allows you to just pull on the door catch and remove the side panel. I just want to point out here in case you don't know, despite the fact it has a door handle, the side panel is not a door itself. It simply slides into position like any other side panel, the difference being you can pull on the door panel and remove it both quickly and easily.


This side panel, like the front door, can be locked to prevent intrusion. Inside we find a spacious interior and a lot to talk about. In the lower left corner we find at the bottom of the case the wiring for the front ports, LED's, speakers etc, as well as an 80mm cage for a fan.


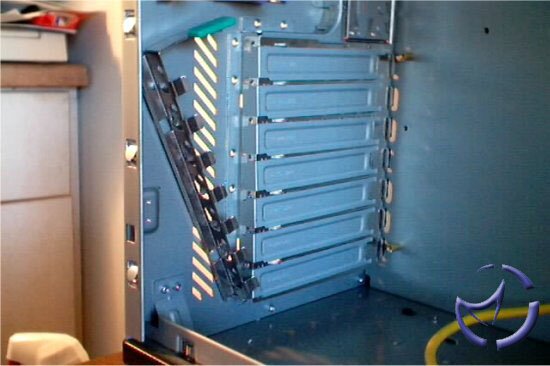
The cages throughout this case hold the fans in place without the need for screws; you simply push them into place. I think the fan cages are supposed to be removable but I honestly couldn't get them out, and whilst the plastic they are constructed from is plenty strong enough to hold a fan, I did find it bent with a rubber effect, which made me give up early on trying to remove them. Again, a minor issue as there is plenty of room around them to get a fan into place, and fans just push in anyway.
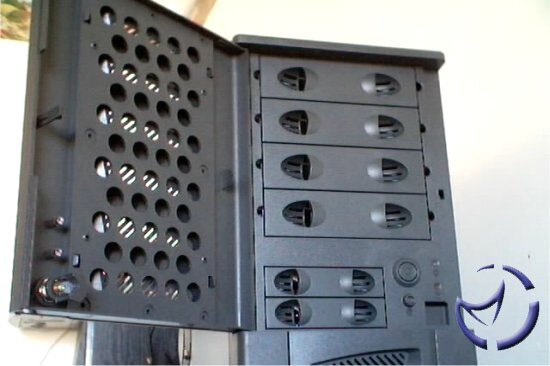
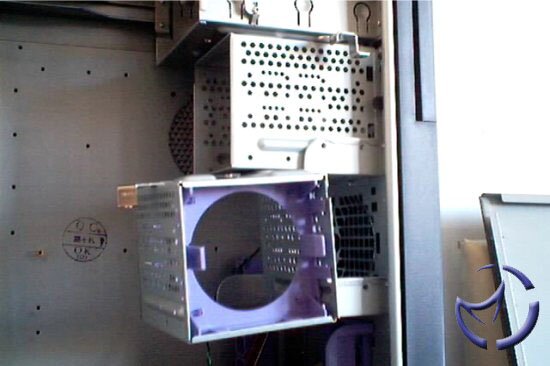
Above this first fan we find the first of the removable 3 ½ inch drive cages. On the top of the cage is a lever, which when pulled back allows you to slide the cage out to attach your drives. Inside the cage we find yet another fan holder (80mm), the idea being you install your hard drives here and have cool air blown across them. Above this we find the second 3 ½ inch drive cage of which 2 of the 3 possible slots open out to the front of the case and its 2 floppy bays.
You can also see peeking around the back panel yet another fan grill, this one for a 92mm fan, but this time you will require screws to attach a fan. You can also see a bit of purple plastic standing vertically behind it which is there to help secure any PCI cards that might reach this far, though I doubt that many home users will see a need for this (it is removable).


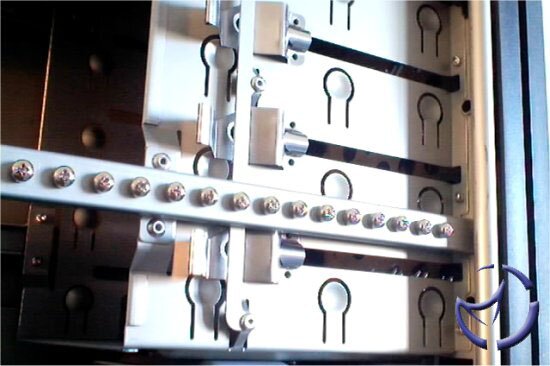
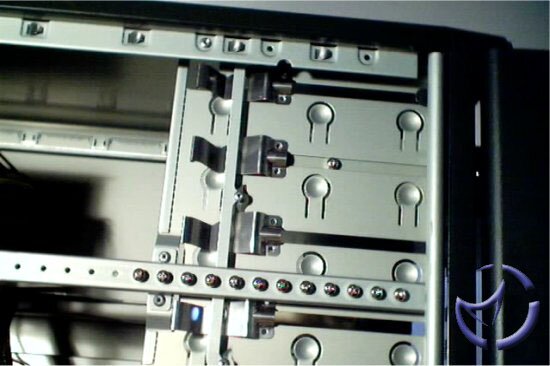
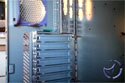
Moving up to the 4 5 ¼ inch bays we can see something out of the norm for your average case. At one time, Chieftec cases used drive rails to attach your drives to the bay, and this new setup is an update on this idea. Basically, the row of screws that you see attached to the crossbar are to put into the top screw location of your drives.


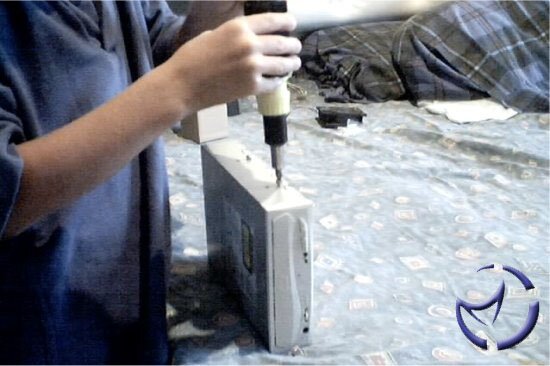
Once those 2 screws are in place you simply slide the drive in and it locks into the bay at the rear. Removal is a case of pulling the tabs out and sliding the bay forward. A very simply and efficient design, easy enough that my 7yr old can do it (that's my boy showing off his system installing skills &. And gapped teeth). This does obviously have drawbacks since it relies on the fact that the item you are installing into a bay uses the industry standard for hole dimensions; installing something that utilizes only the front screws isn't going to work, since these drive bays use only the 2 top screw holes on either side of your drive and the rear screws to lock into place.


Moving to the bottom rear, we see this quick install theme continued to the PCI slots. No screws needed; simply pull the top green lever up, remove a blanking plate, install your cards and then replace the green lever. Despite my worry of this kind of system it does hold the cards very well indeed. Two 80mm fans can be installed in the rear of the case and once again we see the fan cages in use.


At the very top of the case is the PSU slot, which features a removable plate so that you can get your PSU orientated however you wish, even upside down should you so wish it. The rear of the case gives us another view of the previously mentioned items, and you can also see that Chieftec have stuck with industry standard colour coding for the I/O panel, and again, this is removable. Also easily seen here is the two 80mm fan grills, which would have been more effective if removed completely, and instead standard chrome grills put in their place.

The bottom of the case features retractable feet that simply rotate 45 degrees into position and can help to stabilize your case if it becomes top heavy. The case itself being made from steel is quite heavy on its own so I doubt that many users will find a need for these feet apart from perhaps an aesthetic point of view.