|
The Waterblock
This is something that the guys at Wet and Chilly Chips are very proud of and something that they have put a lot of thought into. Ripped from there website, they explain it best.
The flow of coolant when entering our heatsink base is split into six separate channels and two separate directions.
This has the effect of increasing the surface area & contact time within the unit but still maintaining a high total flow rate.
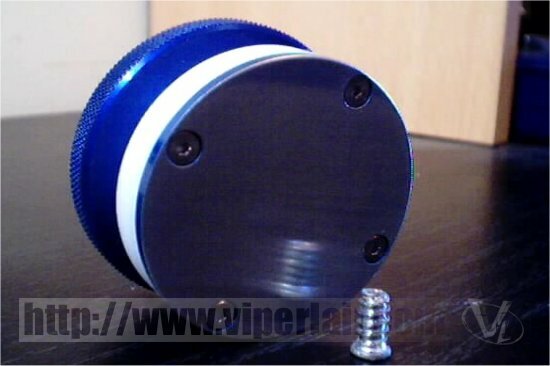
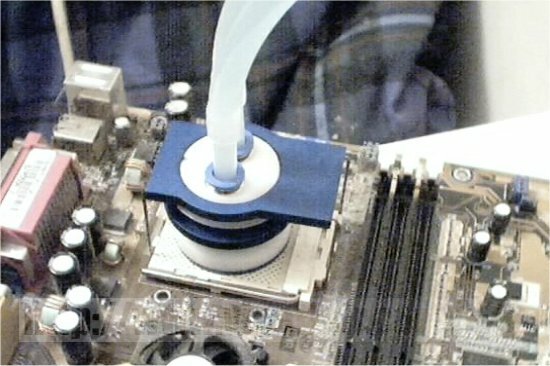
As you can see the base used here is aluminium, and whilst there is a copper based waterblock available, the guys reckon the aluminium base is more than enough. The clipping mechanism on this unit is great and something that I like a lot. I've taken a few pictures outside of the case on a spare motherboard simply to show you how it's done, and yes I'm well aware there's no CPU in the socket :p
 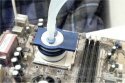 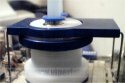 
The clipping mechanism (anodized blue aluminium again) simply fits over the 3 lugs on each side of the zif socket. So apply a little thermal paste to the CPU core and get your waterblock in place. Around the waterblock itself is a screw and washer assembly. To apply pressure to the CPU die you simply wind the screw up until it's tight. That's it. This method has the advantage of producing only downwards pressure on the CPU but also the disadvantage that winding to far could crack the core. I personally found winding it till it was simply tight to be enough, there's no need to keep winding it up although it is possible. The clip has simple screw that inserts into the waterblock casing, to ensure that whilst you're tightening up the screw for the clip, you don't start going around in circles with the waterblock. A very simple and clever fitting method that also looks good. What more could you ask for?
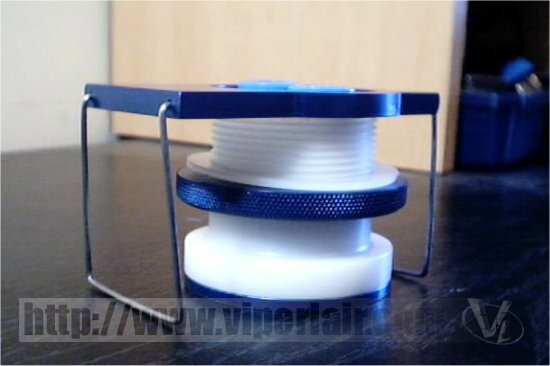
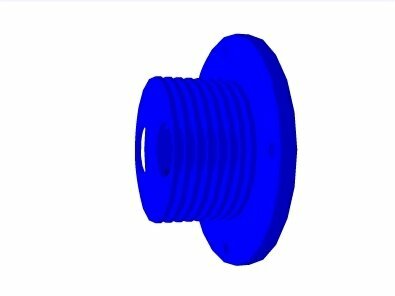
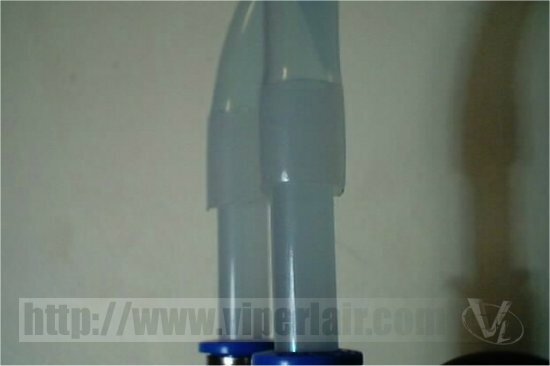
Fittings
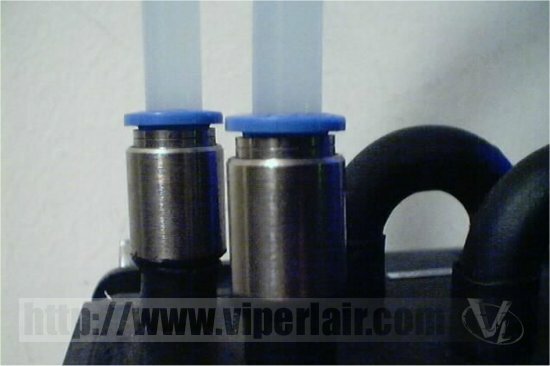
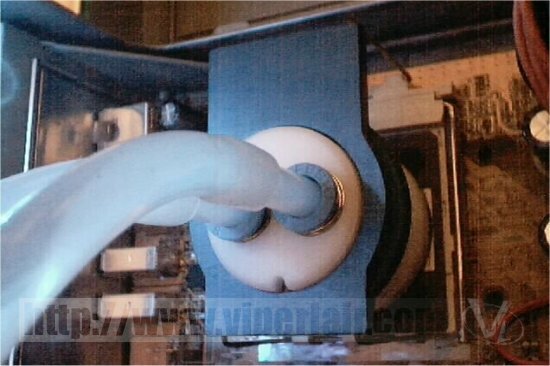
The fittings on the Radiator, Reservoir and Waterblock are designed for ease of use; they are simple push fit connectors. The more you try to pull the pipes out the tighter they get. There is a sleeve running around the inside of the connectors (the blue ring) that when pushed down releases the pipes so it's possible to use this kit from one system to the next even if you need to drain it and change the pipe work. Speaking of the pipe work, one thing that did worry me a little was the lack of clips around the tubes and adaptor pipes. But I've had the system running for a week now and no leaks at all, so it looks like my worries were unfounded.
Previous Page - First looks, Rad, and Reservoir
Next Page - Setup and Testing
|
 Wet and Chilly Chips "AMD-XP" WATER-COOLING SYSTEM: The water-cooling scene is getting as crowded as the air-cooling market, and it's getting tougher to make a decision. We take a look at a new company that may be worth looking into if you're shopping for a WC setup.